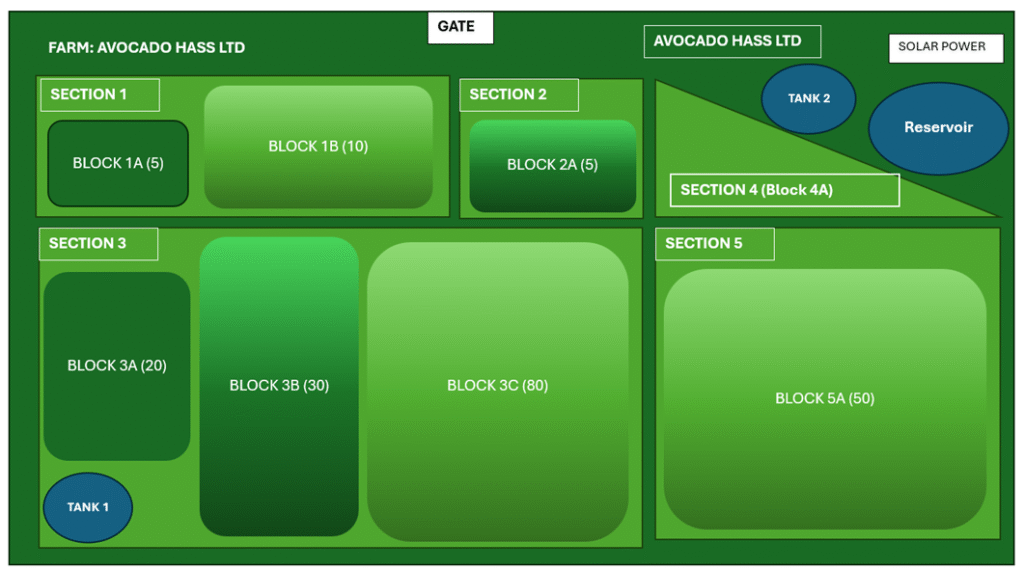
Once your Farm Admin account is activated, the first step is to complete your farm profile to reflect the actual layout of your farm. Farm Admin allows you to divide your farm into sections and sub-sections, known as blocks, to make it easier to manage and monitor specific areas.
To help you get started, Farm Admin automatically creates one section with two sample blocks. You can begin by:
Creating additional sections to match different parts of your farm
Editing the names and details of the default section and blocks
Adding more blocks to reflect your real-world structure
Update Total Farm Size
Navigate to My Sites → Site Info
Update the Farm Land Size field from the default value (e.g., 10) to reflect your actual farm size.
Organize Farm Sections
Go to My Sites → Site Info → Sections
Edit existing sections or create new ones to match how your farm is organized (e.g., by crop type, purpose, or location).
Define Section Blocks
Navigate to My Sites → Site Info → Sections → Section Blocks
Edit or create section blocks to reflect your farm’s physical layout.
Add Details (Optional)
For each block, you may specify additional information such as:
- Land Size
- Soil Type


